To set up SMS notifications, you’ll first need to sign up for a Twilio account. This will allow you to link Twilio and Flow Notify together.
Step 1: Create your Twilio account
To set up your Twilio account, take the following steps:
Go to twillio.com and click the Signup button.
Enter your name, email address, and password. Then click on the Sign-Up button.
It will send you a verification email with the verification link. Click on it to verify your email.
Next, it will ask for your phone number. Enter your phone number and you’ll be sent a verification code via SMS. Enter the verification code to confirm your phone number.
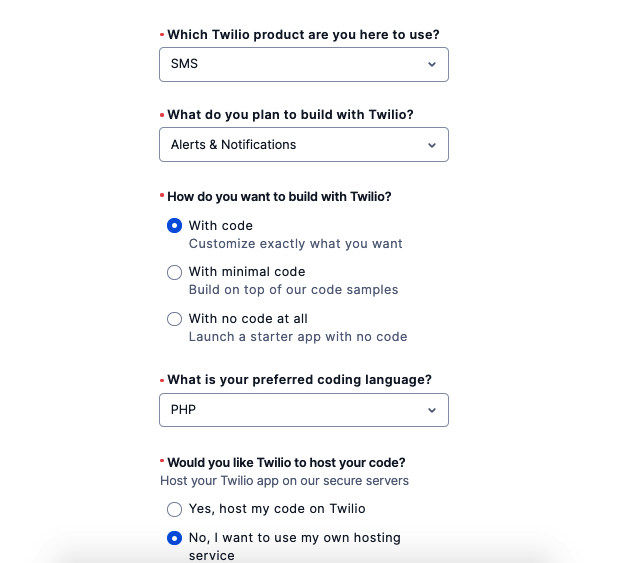
Twillio with show you an onboarding step. Enter the details as mentioned in the screenshot below and click Get Started with Twilio.
Step 2: Create Messaging service and link it with Flow Notify
Next, we’ll need to set up a messaging service in Twilio. This will allow us to link Flow Notify and Twilio together.
To do this, take the following steps:
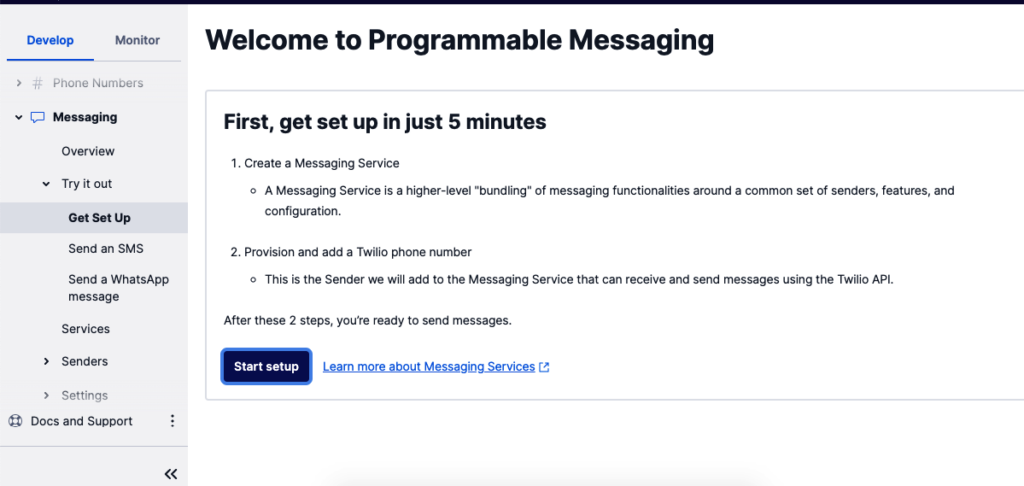
From your Twilio console, go to Messaging > Try it out > Get Set Up and click on the Start Setup button.
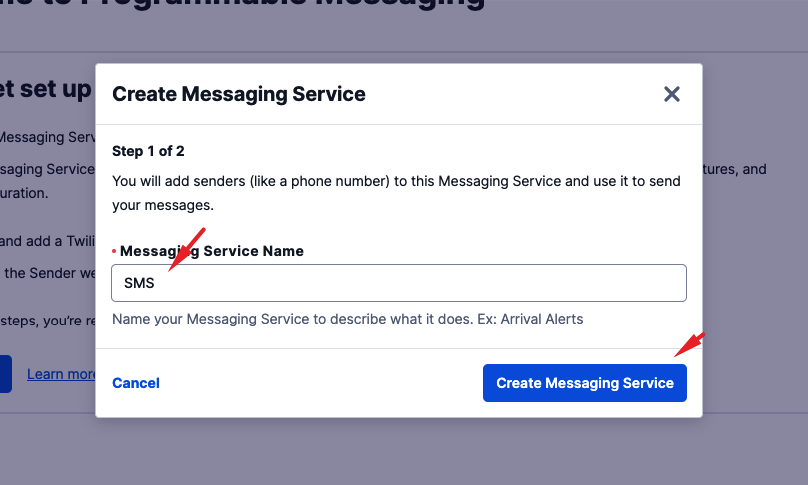
A popup will appear to create a Messaging Service. Give it a name and then click the Create Messaging Service button.
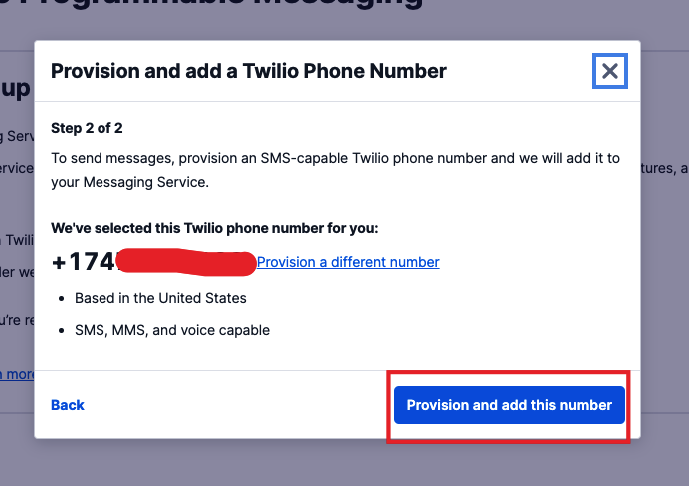
A new Twilio number will be provided, if you want to change this number you can do that by clicking on Provision a different number. Click on Provision and add this number button to proceed.
Next, you’ll see a confirmation screen along with some information required for Flow Notify to send the message notifications automatically.
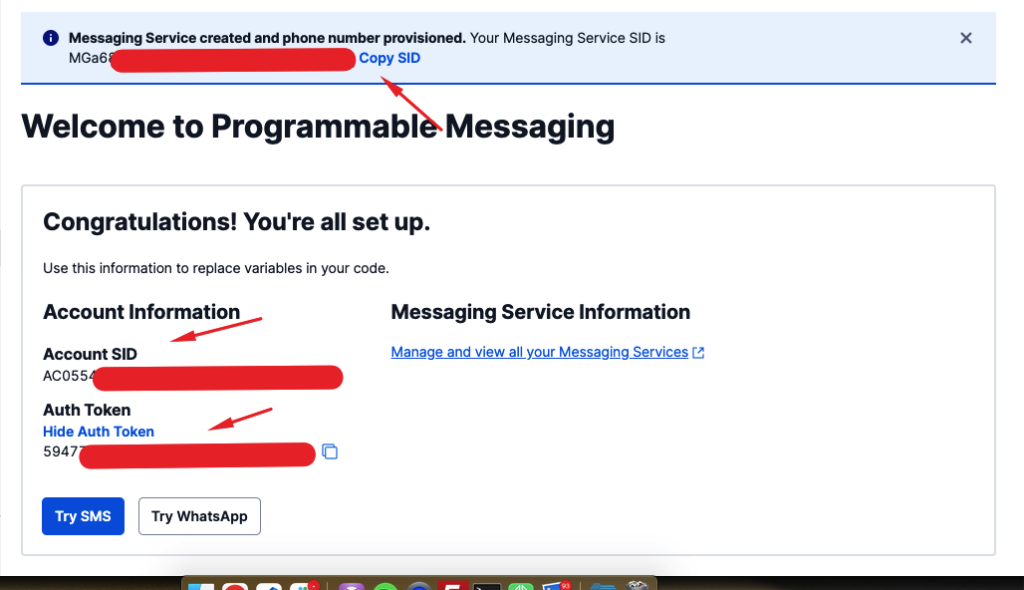
Copy your Account SID, Auth Token, and Messaging service SID from the confirmation screen.
Then, from your WordPress dashboard, go to Flow Notify > Connections and click the Twilio tab at the top. Paste these values into the respective text boxes.
Now we’ve connected the two services together, you can start creating SMS based notifications!
